Preparation
Before you begin there are a few things you need to do. First, open or define a new site in Dreamweaver. Then extract the images in the Zip file into a folder in your site. And finally, create a new page and save it as "index.htm."
Before you begin there are a few things you need to do. First, open or define a new site in Dreamweaver. Then extract the images in the Zip file into a folder in your site. And finally, create a new page and save it as "index.htm."
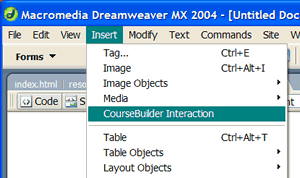
The first step is to insert a CourseBuilder Interaction. In the Dreamweaver menubar select: Insert > Coursebuilder Interaction

You will be prompted to "Copy support files." This copies Coursebuilder's scripts and widgets into your working folder. Click OK.
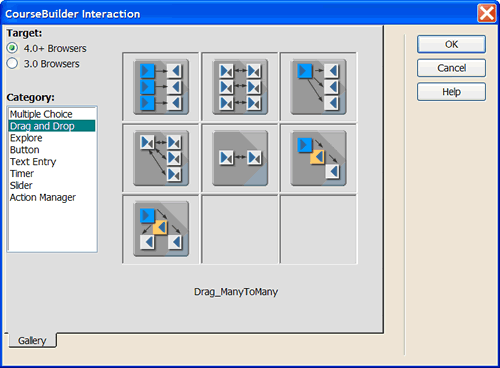
In the Coursebuilder Interaction Gallery window, set the Target radio button to "4.0+ Browsers." Select Drag and Drop as the Category. Then click the Drag_Many2Many icon  .
.

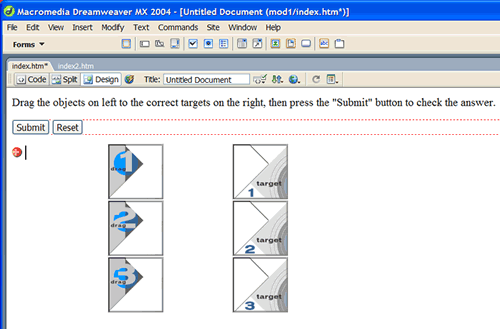
Click OK. Your page should look like this:

You've just inserted a CourseBuilder Interaction Template into your page. It has six placeholder images: three drag images and three target images. You'll need to replace these images with the ones you extracted from the Zip file and make some other modifications in the CourseBuilder Interaction window...